Introduction: What is the best layout for Moonlander keyboard
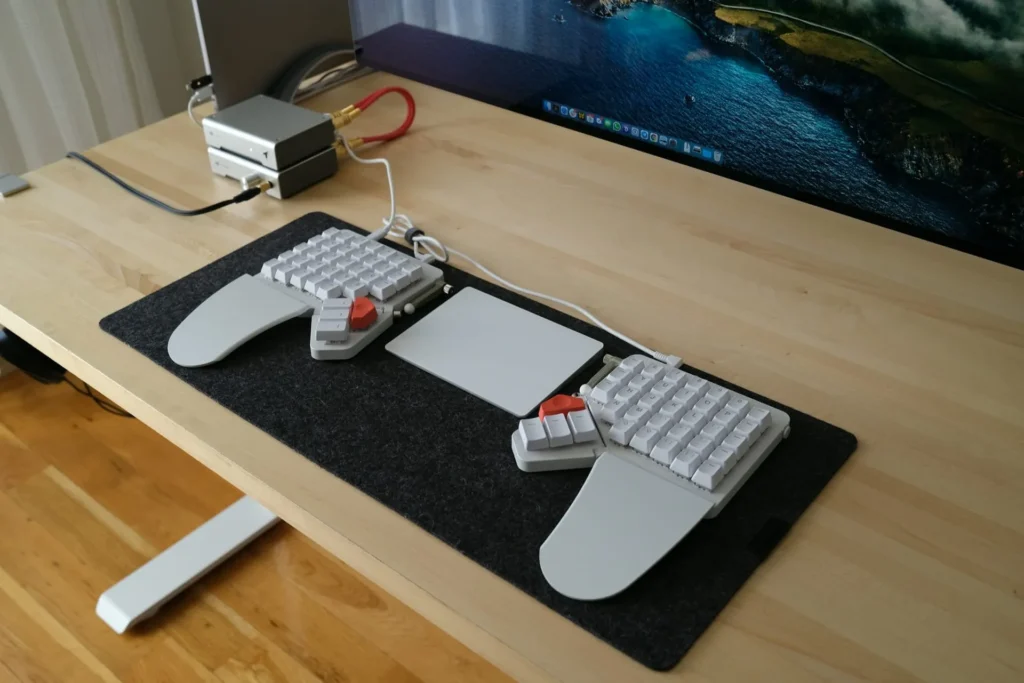
The Moonlander keyboard by ZSA Technology Labs is an innovative, ergonomic keyboard designed to optimize typing comfort and productivity.
With its split design, ortho-linear key layout, and extensive customization options, it has become a favourite for tech enthusiasts, programmers, and professionals looking to improve their typing experience.
Layout customization plays a crucial role in making the Moonlander truly personal. Unlike traditional keyboards, it allows users to modify key assignments, create multiple layers, and even choose from alternative layouts like Colemak or Dvorak.
This flexibility enhances not only typing efficiency but also reduces strain, making it ideal for long working sessions. By understanding what is the best layout for Moonlander keyboard, you can unlock its full potential for productivity and ergonomics.
Key Features of the Moonlander Keyboard
| Feature | Description |
|---|---|
| Split Design | Two separate halves for a more natural shoulder-width typing position. |
| Ortholinear Layout | Keys are arranged in a grid for minimal finger movement and reduced strain. |
| Custom Keymaps | Fully customizable keys through ZSA’s Oryx Configurator. |
| Multiple Layers | Offers the ability to assign different functions to the same key across layers. |
| Tenting Options | Adjustable angles to reduce wrist strain. |
| Thumb Clusters | Dedicated keys for thumb use, improving accessibility for frequently used functions. |
| Hot-swappable Switches | Easily replaceable switches for personalized tactile feedback. |
Customizing your layout can be transformative, especially if you have specific workflows. Whether for coding, writing, or gaming, the right layout can increase your speed and comfort while minimizing fatigue.
Understanding the Default Moonlander Layout
The Moonlander keyboard is a highly customizable split mechanical keyboard designed for ergonomics and productivity. It comes preloaded with a default QWERTY layout, which is familiar to most users. However, adapting to this layout and its unique design features can present a learning curve.

Default QWERTY Layout Overview
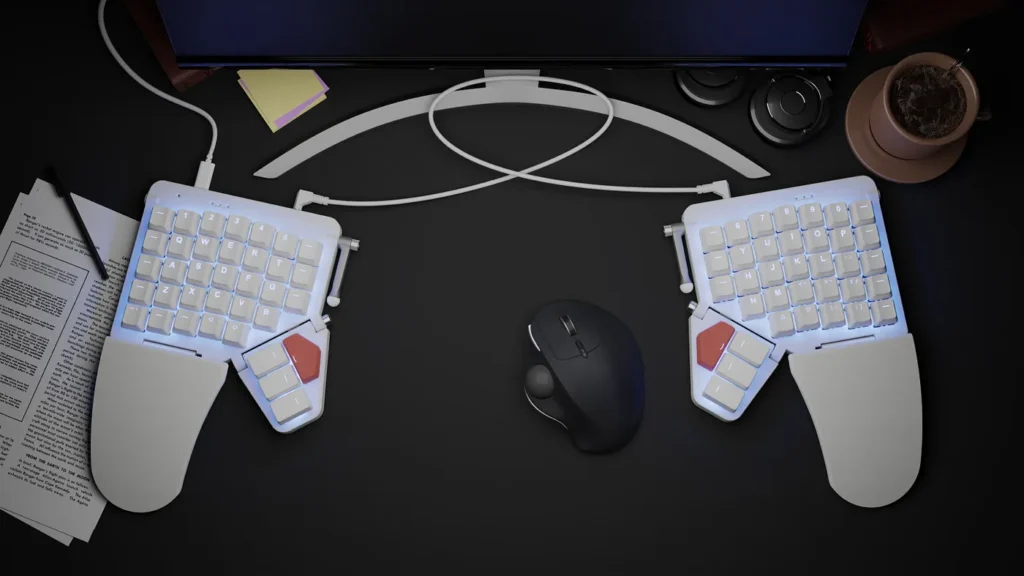
The default layout is based on the standard QWERTY setup, but its split design allows for ergonomic hand positioning. Each hand operates independently on its half of the keyboard, helping reduce strain by keeping shoulders, arms, and wrists in a more natural alignment. The layout includes customizable thumb clusters, a significant feature that gives the thumbs more functionality compared to traditional keyboards, which typically only use them for the space bar.
Key Positions and Thumb Clusters
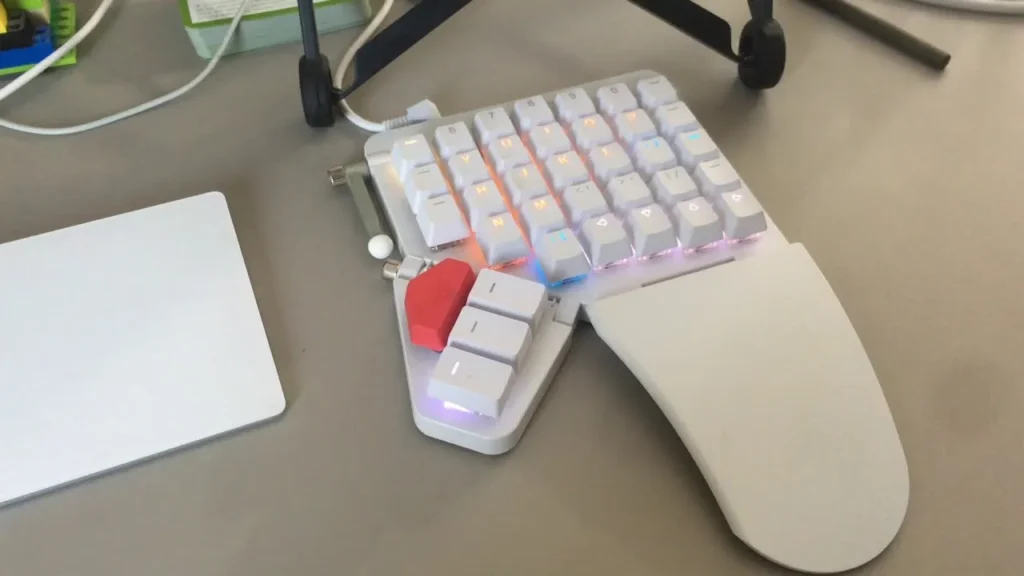
The thumb clusters are a standout feature of the Moonlander. Each side offers several keys that can be programmed for frequently used functions, such as shortcuts, modifiers, or symbols. This design reduces the need to stretch fingers to reach awkward keys, boosting efficiency once users get accustomed to it.
Challenges and the Learning Curve
Switching to the Moonlander can be challenging, especially for beginners. The ortho-linear key alignment (keys arranged in straight rows and columns rather than staggered) feels unfamiliar initially.
Additionally, effectively using the thumb clusters requires practice. Users often need weeks or even months to develop muscle memory for the new layout, but consistent use and gradual customization ease the transition.
Key Features and Challenges Summary
| Feature | Description | Challenges |
|---|---|---|
| Split Design | Promotes ergonomic hand positioning | Adjusting to the wider spacing can be difficult for some users. |
| Ortholinear Layout | Straight key alignment for efficient finger movement | Requires adaptation as most are used to staggered keys. |
| Thumb Clusters | Multi-key clusters for thumbs to improve productivity | Initial difficulty in incorporating thumb clusters into typing habits. |
| Full Customization | Keys and layers can be reprogrammed to suit individual needs | Overwhelming options may confuse new users without clear guidance. |
By understanding these features and committing to consistent practice, users can determine what is the best layout for the Moonlander keyboard based on their typing habits and ergonomic needs. For beginners, starting with the default setup and gradually tweaking it helps them navigate the initial hurdles effectively.
Exploring Popular Layouts for Moonlander
The Moonlander keyboard is known for its versatility and adaptability, allowing users to experiment with different layouts for maximum efficiency and comfort. Let’s look at some of the most popular layouts.
QWERTY: The Familiar Standard
QWERTY is the default layout that most people use and recognise. It is an excellent choice for beginners transitioning to the Moonlander.
- Advantages: Familiar to most users, requiring no additional learning. Works seamlessly with all software and operating systems.
- Drawbacks: The design is less ergonomic, leading to more finger movement and potential fatigue during long sessions. It wasn’t built for modern typing efficiency.
Colemak: A Balanced Upgrade
Colemak is a popular alternative for those seeking improved ergonomics without a drastic learning curve.
- Advantages: Retains much of QWERTY’s familiarity by changing only 17 keys. Reduces finger movement, increasing typing speed and comfort.
- Drawbacks: Requires configuration since it isn’t preinstalled on most systems. Its efficiency gains may not feel significant for casual typists.
Dvorak: Built for Efficiency
Dvorak is designed to minimize finger movement by placing the most common letters under the home row, enhancing efficiency and comfort.
- Advantages: Reduces strain and speeds up typing by keeping frequently used keys in easy-to-reach positions. Ideal for those who type heavily or professionally.
- Drawbacks: It has a steep learning curve and requires users to relearn typing habits. Dvorak layouts are not natively supported on many devices.
Custom Layouts for Specific Tasks
The Moonlander’s strength lies in its ability to support fully custom layouts, tailored for different needs:
- Coding: Programmers can assign keys for common functions and symbols to reduce repetitive movements.
- Gaming: Custom layouts optimize controls for specific games, improving gameplay efficiency.
- Productivity: Layers can help switch between different tasks, like writing, spreadsheets, or design software.
Popular Moonlander Layouts
| Layout | Advantages | Disadvantages |
|---|---|---|
| QWERTY | Familiar and easy to use | Less ergonomic and slower typing |
| Colemak | Reduces finger movement | Requires manual setup |
| Dvorak | Highly ergonomic and efficient | Difficult to learn, limited availability |
| Custom | Fully personalized for tasks | Time-consuming to configure |
Choosing what is the best layout for Moonlander keyboard depends on your goals. QWERTY and Colemak are suitable for casual users, while Dvorak and custom layouts are ideal for those prioritizing efficiency and comfort.
Customizing Your Moonlander Layout
The Moonlander keyboard is known for its adaptability, allowing users to tailor it to their specific needs. This customization enhances productivity, comfort, and efficiency. Here’s how you can effectively customize the Moonlander using its tools and features:
Tools for Customization: Oryx and Wally
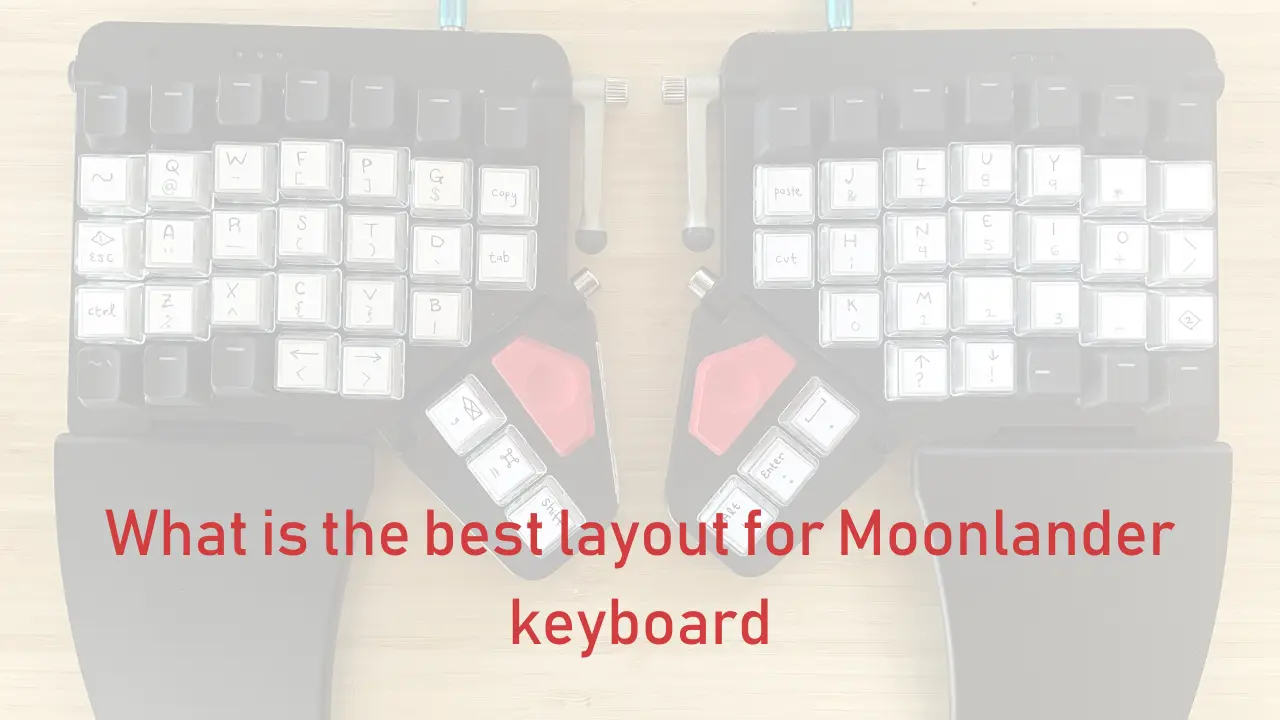
- Oryx Configuration Tool: This web-based platform lets you remap keys, create layers, and assign functions directly to the keyboard. Changes are saved on the keyboard, so your setup is portable across devices. You can also preview your layout and tweak it visually, ensuring clarity as you work.
- Wally Flashing Tool: Once you’ve made changes in Oryx, Wally uploads (or flashes) the new layout onto your keyboard. It ensures your customizations are permanently stored.
Layer Customization for Efficiency
One of the most powerful features of the Moonlander is its use of layers, similar to pages in a notebook. Layers reduce hand movement by assigning different functions to the same key based on the active layer. For example:
- Navigation Layer: Includes arrow keys, mouse controls, and shortcuts for desktop navigation.
- Application-Specific Layers: Customize a layer for Photoshop, gaming, or coding with functions specific to those tasks.
Advanced Customization Examples
- Macros: Assign sequences of key presses to a single key. For instance, a macro could open a specific application or insert frequently used text snippets.
- Dual-Function Keys: Combine functions like “Shift” when held and “Enter” when tapped. This reduces the need for dedicated keys while keeping your hands on the home row.
- Thumb Clusters: These can be tailored for actions like space, backspace, or layer toggles, maximizing the ergonomic benefit of the keyboard design.
Sample Customization Table
| Feature | Example Use | Benefits |
|---|---|---|
| Navigation Layer | Arrow keys and desktop shortcuts | Quick access without hand movement |
| Gaming Layer | Custom key binds for Fortnite | Enhanced gaming performance |
| Macros | Automated email signature | Saves time on repetitive tasks |
| Dual-Function Keys | Shift/Enter on one key | Combines functions, saves space |
By leveraging these tools and strategies, you can discover what is the best layout for Moonlander keyboard tailored to your specific needs, optimizing both comfort and productivity.
Key Factors in Choosing the Best Layout for the Moonlander Keyboard
The Moonlander keyboard offers unmatched customization options, but selecting the best layout depends on individual needs. Here’s a breakdown of the key factors to consider:

Ergonomics: Minimizing Strain
The Moonlander is designed with ergonomics in mind. Its split, columnar layout reduces wrist strain and finger movement. Using customized layouts like Colemak or Dvorak can further reduce finger travel and prevent typing fatigue. Ergonomic layouts are especially beneficial for those who type for long hours.
Usage Needs: General Typing, Programming, or Gaming
- General Typing: Standard layouts like QWERTY are easy for beginners and those transitioning from traditional keyboards.
- Programming: Custom layouts can assign frequently used commands (e.g., “Ctrl+C”) to thumb clusters for faster access.
- Gaming: Gamers can create layouts with essential keys closer to their natural reach, improving reaction time during play.
Compatibility: Transitioning Between Keyboards
For users switching between the Moonlander and standard keyboards, sticking with QWERTY ensures smoother transitions. However, those seeking better efficiency may find layouts like Colemak easier to adapt to over time. The learning curve may initially be steep, but ergonomic benefits outweigh this for most users.
Layout Factors for Moonlander Users
| Factor | Recommendation | Benefit |
|---|---|---|
| Ergonomics | Colemak/Dvorak | Reduces strain, improves comfort |
| Typing | QWERTY | Easy transition from standard keyboards |
| Programming | Custom Layouts with Macros | Faster coding and command execution |
| Gaming | Gaming-Specific Custom Layout | Enhanced accessibility to action keys |
Conclusion
Deciding what is the best layout for Moonlander keyboard ultimately depends on your specific needs and habits. Whether prioritizing ergonomics, typing ease, or advanced customization, the Moonlander supports it all. Beginners can start with QWERTY and gradually explore optimized layouts like Colemak or create unique configurations tailored to their workflow.
For more detailed insights on Moonlander layouts, tools, and features, visit ZSA’s official resources and user forums.
User Experiences and Insights
Testimonials on Moonlander Layouts
Users of the Moonlander keyboard often share diverse experiences with its layout options. For beginners transitioning from traditional keyboards, the default QWERTY layout feels familiar, though the split design and thumb clusters require adjustment.
Many find the Colemak layout to reduce strain and improve typing speed, while Dvorak is praised for its ergonomic benefits. Custom layouts tailored to specific tasks like coding or gaming are widely appreciated for their adaptability.
For instance, some users report initially struggling with speed and accuracy while adapting to the keyboard but note significant improvement with consistent practice.
They often highlight the importance of exploring different layouts to find one that fits their needs. Advanced users also emphasize the value of training tools like Oryx to visualize and refine their customized layouts.
Challenges and Adaptation Tips
Adapting to the Moonlander keyboard comes with a learning curve. Common challenges include:
- Slower typing speeds initially as users adjust to new key placements.
- Remembering layer combinations, especially for custom layouts with macros.
- Building muscle memory for efficient use of thumb clusters and modifiers.
Tips to overcome these challenges include:
- Practising regularly with typing training software or games to build familiarity.
- Gradually introducing advanced features like macros to avoid feeling overwhelmed.
- Seeking community insights and shared layouts for inspiration and shortcuts.
Real-World Examples of Customization
- Programmers: Often use layers for coding symbols like brackets and indentation shortcuts, minimizing finger travel during intensive coding sessions.
- Gamers: Customize layouts for quicker key access and efficient gameplay, with macros for complex commands.
- Writers: Use macros to automate repetitive tasks, such as inserting citations or common phrases.
User-Generated Insights
| Aspect | Challenge | User Insight | Suggested Solution |
|---|---|---|---|
| Typing speed | Slower speeds initially | Consistent practice is crucial. | Use typing trainers like Keybr or Oryx tools. |
| Layer memorization | Confusion with layer combos | Predefine intuitive layers. | Begin with a few layers; expand gradually. |
| Customization overload | Overwhelmed by many options | Start with small changes. | Incrementally add macros or features. |
| Layout choice | Finding the “best” layout | Trial and error are part of the process. | Test QWERTY, Colemak, Dvorak, or custom setups. |
By learning from user experiences, you can determine what is the best layout for the Moonlander keyboard based on your specific needs. Whether you’re a coder, gamer, or writer, exploring various layouts and customizations will help unlock the full potential of this unique keyboard.
Tips for Experimenting with Layouts
Customizing the Moonlander keyboard can feel overwhelming at first, but taking a thoughtful, experimental approach will help you find what works best for your typing needs. Below are some practical tips for exploring different layouts, all while keeping the main question in mind: What is the best layout for Moonlander keyboard?
Start Small with Gradual Adjustments
Begin with small layout changes instead of a complete overhaul. Adjusting one or two keys at a time, such as relocating frequently used modifiers or shortcuts, allows your hands to adapt gradually. Incremental changes help reduce frustration and speed up muscle memory development.
Use Community-Shared Layouts for Inspiration
The Moonlander community is rich with user-shared layouts designed for different tasks, such as programming, gaming, or general typing.
Platforms like Reddit and Discord have active discussions where users share their layouts, tips, and customization ideas. Exploring these can inspire you to adapt or tweak layouts to suit your unique needs.
Leverage the Modular Design for Physical Adjustments
The Moonlander’s modular design allows for easy physical rearrangement of keycaps. For instance, you can rearrange key positions or adjust thumb clusters to better match your natural hand shape.
This modularity is especially useful for users with specific ergonomic or task-related requirements. The keyboard also includes tools for effortless keycap swaps without the need for soldering.
Key Tips
| Tip | Description |
|---|---|
| Start Small | Make minor layout adjustments and adapt gradually. |
| Community Layouts | Explore and adapt layouts shared by other Moonlander users. |
| Modular Design | Use the Moonlander’s customizable keycap and thumb cluster arrangement. |
| Test Layers | Experiment with layers for shortcuts or task-specific customizations. |
| Track Changes | Keep a log of what works and adjust based on experience. |
By combining gradual adjustments, community insights, and Moonlander’s modular design, you can experiment with confidence. Remember, what is the best layout for Moonlander keyboard varies depending on individual needs, so take your time to discover your ideal setup.

Conclusion: What is the best layout for Moonlander keyboard
Choosing the best layout for the Moonlander keyboard is essential for maximizing comfort, efficiency, and productivity. The modular design and customizable features of the Moonlander make it a unique tool, but finding the ideal configuration requires experimentation.
By customizing your layout, you can address ergonomic needs, reduce strain, and adapt the keyboard to specific tasks like programming or gaming. Community-shared layouts and tools like Oryx and Keymapp simplify this process, offering inspiration and an easy way to tweak configurations.
Ultimately, the best layout depends on your personal needs, typing habits, and usage scenarios. With the Moonlander, you have the freedom to create a setup that feels natural and supports your goals, whether that’s faster typing, greater comfort, or smoother transitions between tasks.
Don’t hesitate to try new arrangements, explore community options, and refine your layout for optimal results.
| Key Consideration | Why It Matters |
|---|---|
| Ergonomics | Reduces strain and promotes healthier typing. |
| Task Fit | Customizes for gaming, coding, or general use. |
| Adaptability | Ensures smooth transitions to standard keyboards. |
In the end, the journey to finding what is the best layout for Moonlander keyboard is as rewarding as the results. Take your time, enjoy the process, and let your keyboard evolve with you.
